
Since RouterOS v7.5 mikrotik routers have been able to install docker containers. In this article we will learn how to properly prepare the router and how to deploy the container in RouterOS.
In entry-level mikrotik routers the operating memory is not enough for docker containers to work properly, we will install docker container on the virtual server with RouterOS system installed. You can choose the optimal configuration of the virtual server with RouterOS preinstalled.
Preparing RouterOS to install Docker containers
Support for Docker containers appeared in RouterOS 7.5, if your operating system version is lower you need to upgrade to the latest version.
The standard set of installed RouterOS add-ons does not include the container add-on and in order to add it, you need to go to the official website of mikrotik and in the software section to download the add-on set Extra packages pre-selecting the architecture where RouterOS is installed.

For RouterOS which is installed on the VPS it is X86.
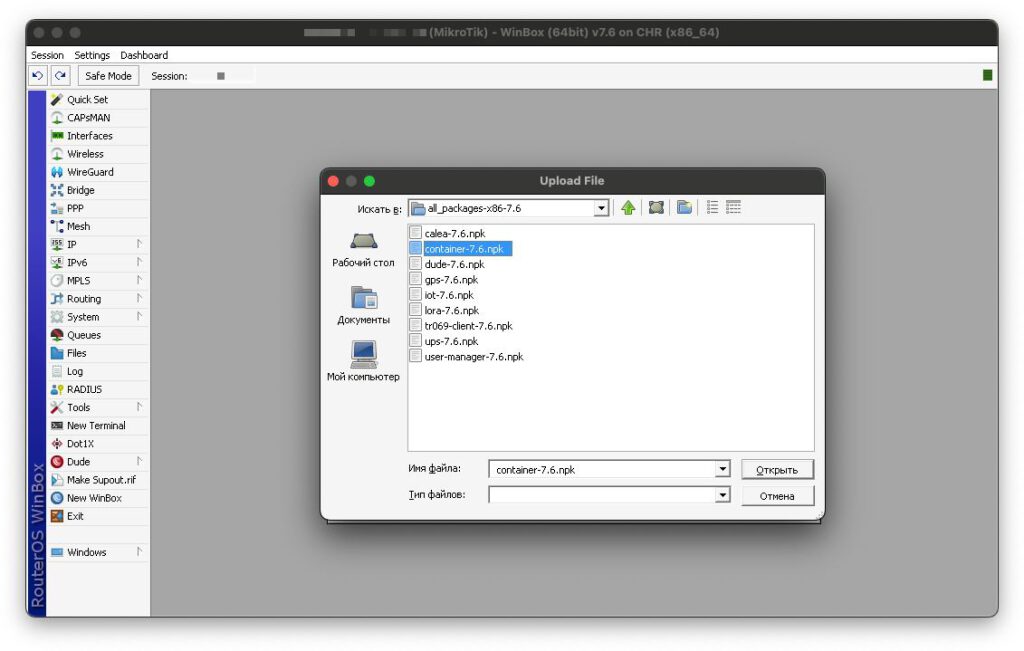
Unpack the downloaded archive and download the file named container-..npk to the root of your router. After downloading the file, restart the virtual machine or router (System – Reboot), the add-on will be installed automatically.
After restarting RouterOS, open a new terminal window and run the command that activates the container mode
/system/device-mode/update container=yes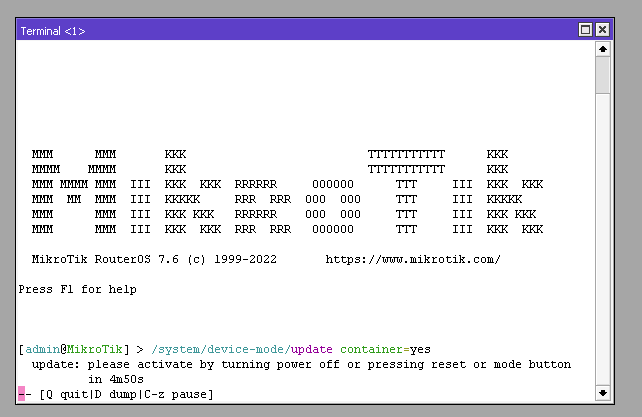
After executing this command we will need to reboot the router again, we have 5 minutes to do this. Perform another reboot.
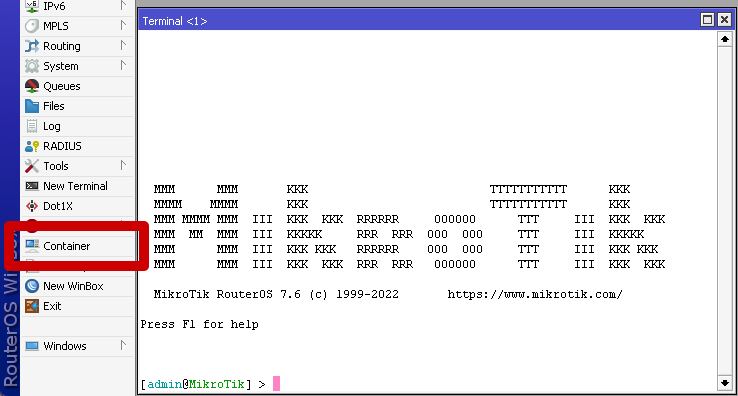
After rebooting you will have a new Container menu item.
Setting up the network to install a Docker container
For each container that will be installed in the system we need to create a virtual interface VETH. Go to Interfaces – VETH tab.
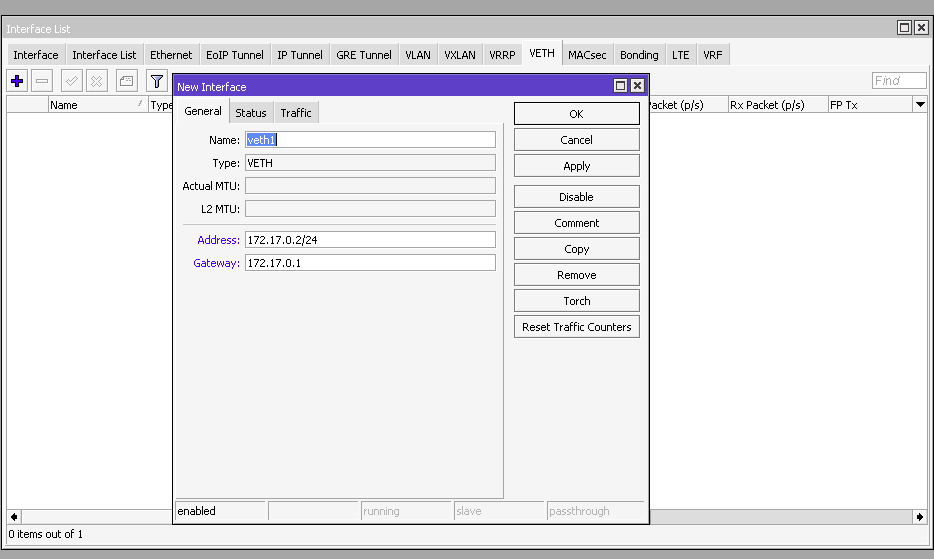
Specify the interface name, address and gateway.
Command to add an interface via the terminal
/interface/veth/add name=veth1 address=172.17.0.2/24 gateway=172.17.0.1It will also be necessary to create a bridge interface in order to connect the container to the network.
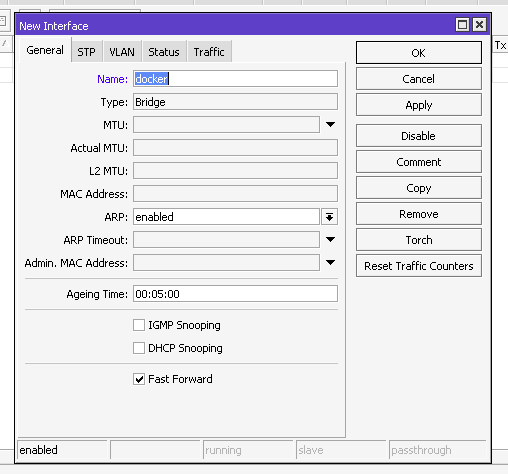
Let’s name our bridge interface docker by going to the Interfaces section and adding a new interface like Bridge in the Interface tab.
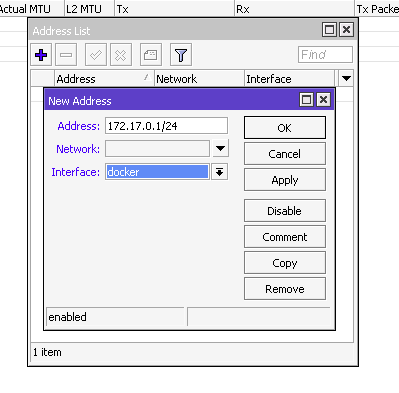
Let’s specify the IP address of the interface bridge 172.17.0.1/24 by going to IP – Addresses – add a new address 172.17.0.1/24 and assign it to the docker interface.
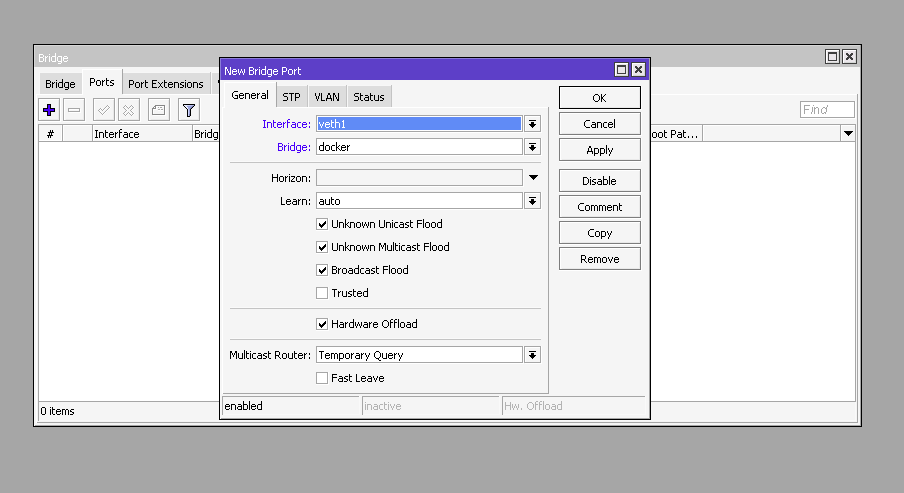
Let’s add the virtual port veth1 to bridge docker.
All of the actions we did above can be done with these commands in the terminal.
/interface/bridge/add name=docker
/ip/address/add address=172.17.0.1/24 interface=docker
/interface/bridge/port add bridge=docker interface=veth1
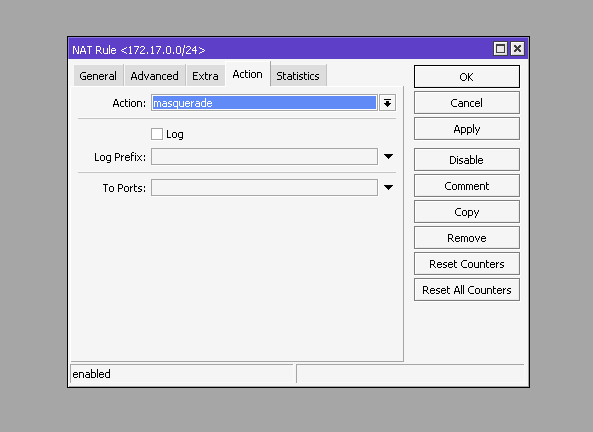
And set up NAT for outgoing traffic.
/ip/firewall/nat/add chain=srcnat action=masquerade src-address=172.17.0.0/24As an example, we will install the docker container of the PiHole ad blocker and unwanted DNS queries.
Installing PiHole in RouterOS
For the PiHole container to work properly, you must specify several variables.
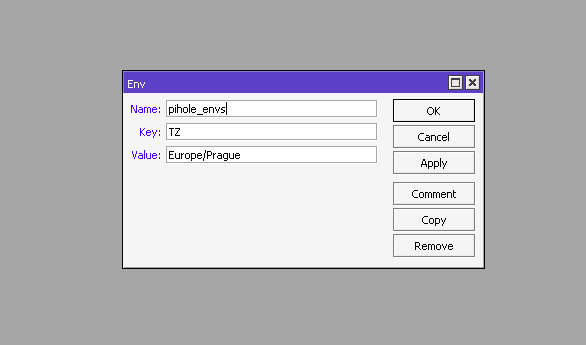
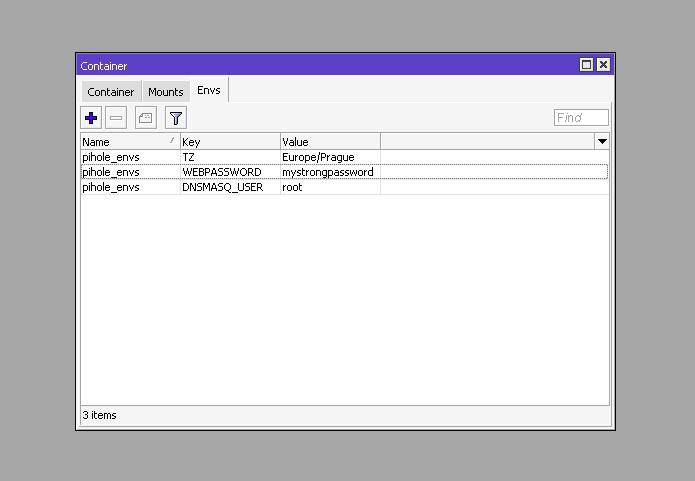
Go to Container – Envs tab and add three variables:
- TZ – specify your time zone
- WEBPASSWORD – password to access the PiHole control panel
- DNSMASQ_USER – set to root
To add variables in the terminal run the following command
/container/envs/add name=pihole_env key=TZ value="Europe/Prague"
/container/envs/add name=pihole_env key=WEBPASSWORD value="mystrongpassword"
 /container/envs/add name=pihole_env key=DNSMASQ_USER value="root"
Add mount points for the PiHole container. Go to the Mount tab in Container and add two points:
- etc_pihole in which we specify src = /etc с dst = /etc/pihole
- dnsmasq_pihole in which we specify src = /etc-dnsmasq.d с dst = /etc/dnsmasq.d
/container/mounts/add name=etc_pihole src=/etc dst=/etc/pihole
/container/mounts/add name=dnsmasq_pihole src=/etc-dnsmasq.d dst=/etc/dnsmasq.d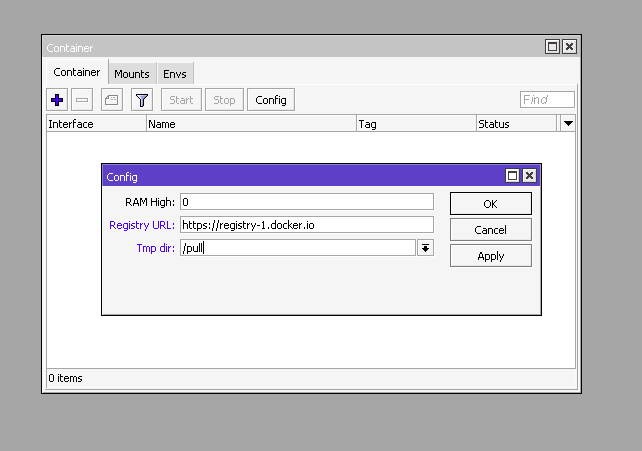
To add the image we need to add the search url for the containers. Click on Config and in the Registry URL field specify https://registry-1.docker.io and in Tmp dir /pull
/container/config/set registry-url=https://registry-1.docker.io tmpdir=/pullEverything is ready to install the container and we can move on to creating the container.
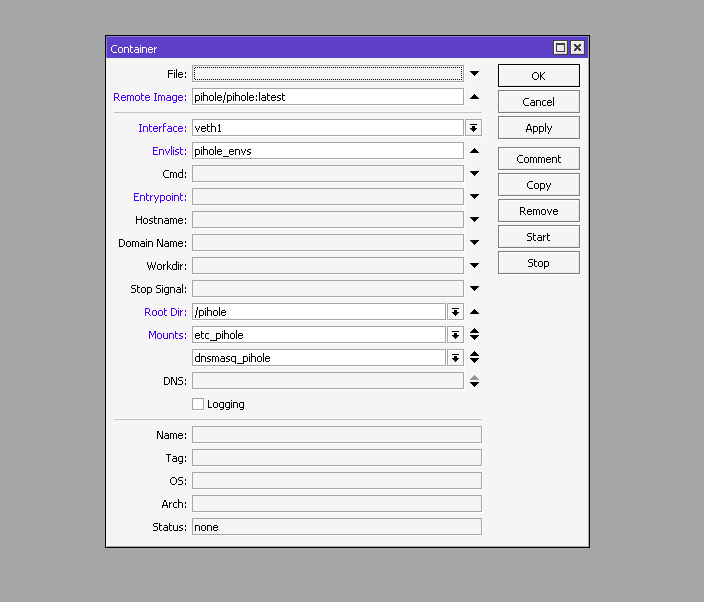
In the Container tab, click the + button and fill out the following fields:
- Remote Image pihole/pihole:latest
- Interface veth1
- Root dir /pihole
- Mounts dnsmasq_pihole,etc_pihole
- Envlist pihole_env
You can install a container with a command in the terminal
/container/add remote-image=pihole/pihole:latest interface=veth1 root-dir=/pihole mounts=dnsmasq_pihole,etc_pihole envlist=pihole_envPress apply and wait until the container is loaded and the status is stopped. After that we can start the container by pressing the Start button.
The last thing we need to do is to forward the port of the PiHole web interface to the external port of our server. Replace server_ip with the IP address of your router or server, and in to-addresses specify the IP address you assigned to the docker container, and dst-port with the port you want to open for access to the PiHole admin panel.
/ip firewall nat
add action=dst-nat chain=dstnat dst-address=server_ip dst-port=8080 protocol=tcp to-addresses=172.17.0.2 to-ports=80
After that, open http://server_ip:8080 in your browser and you will get to the PiHole admin panel.
Enter the password that we specified in the WEBPASSWORD variable and login to the admin panel.
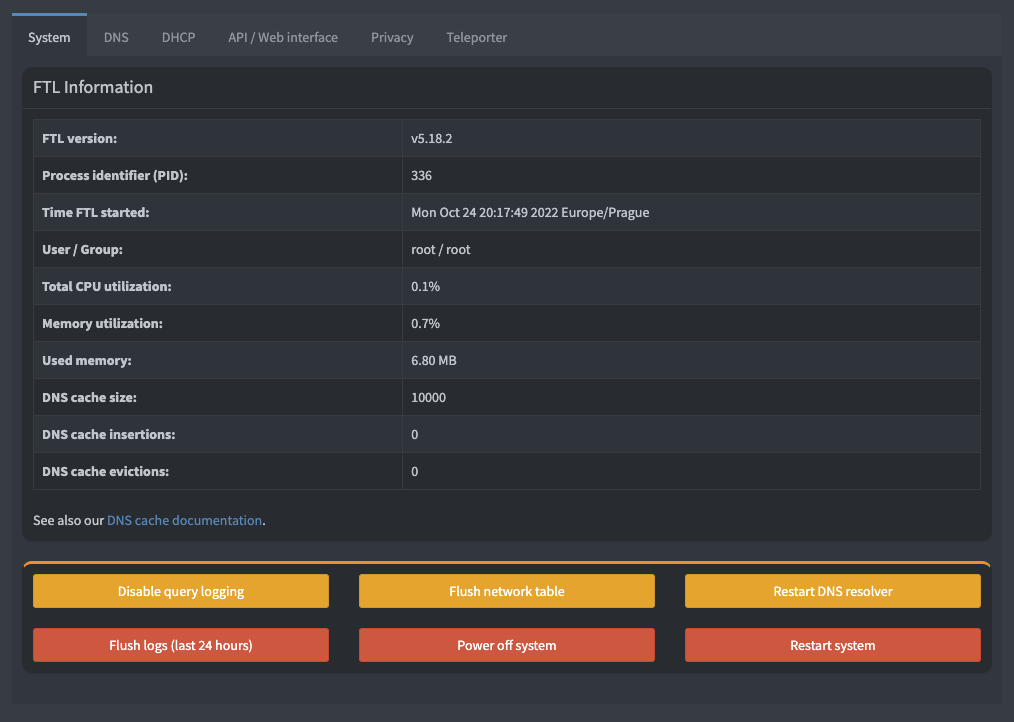
Go to the settings and make sure everything works.
This completes the configuration of docker in mikrotik routeros and the deployment of pihole.
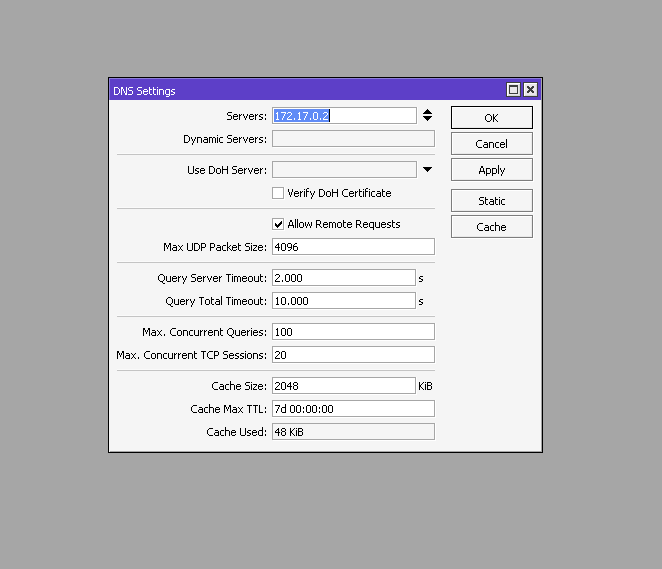
And in order to use your server’s IP address as a DNS server, it is enough to specify the IP address of the container with PiHole in the RouterOS settings and activate Allow Remote Requests.
And also add two rules to the Firewall
/ip firewall filter add action=accept chain=input
/ip firewall nat add action=masquerade chain=srcnat