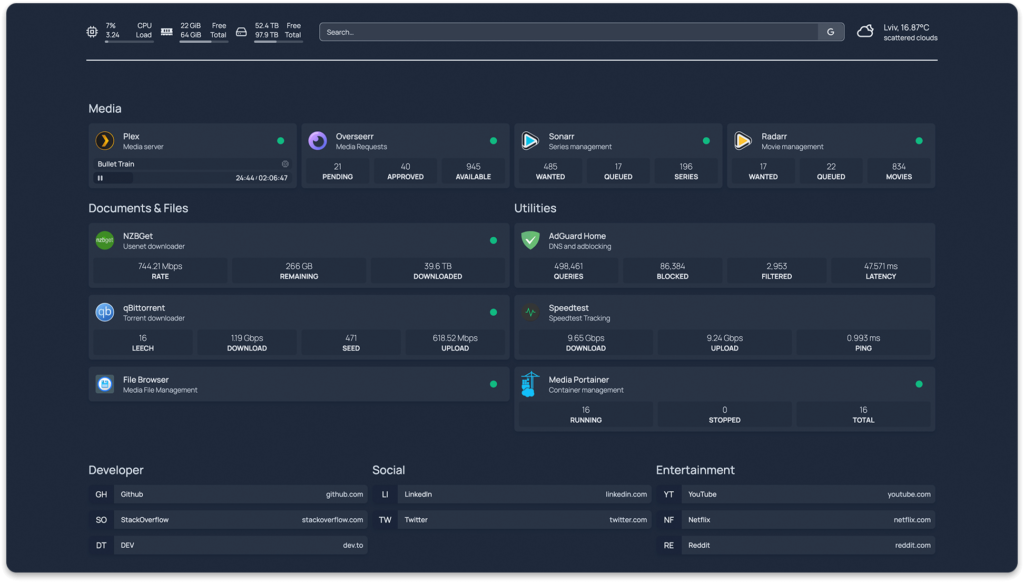
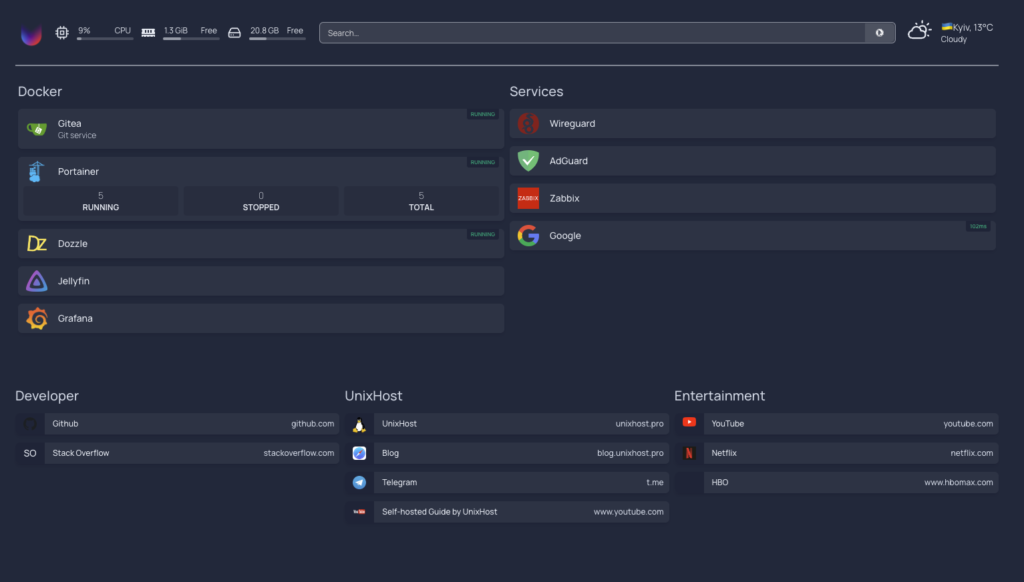
Gradually, as you start using more services, you may find it difficult to remember the port and domain name where a particular service is located. In such a situation, a homepage can be helpful.
A homepage is a small website where you can gather all your services, add widgets, and bookmarks to websites.

Main advantages of homepage
- The entire site is statically generated at build time, so you can expect instant load times.
- Every API request to backend services goes through a proxy server, so your API keys will never be exposed to the frontend client
- Koneiner image built for AMD64 (x86_64), ARM64, ARMv7 and ARMv6 Supports all Raspberry Pi, most SBC and Apple Silicon
- Full i18n support with automatic language detection
- Instant “Quick Start” search
- Support for widgets
- Integration with Sonarr, Radarr, Readarr, Prowlarr, Bazarr, Lidarr, Emby, Jellyfin, Tautulli, Plex, Ombi, Overseerr, Jellyseerr, Jackett, NZBGet, SABnzbd, ruTorrent, Transmission, qBittorrent , Portainer, Traefik, Speedtest Tracker, PiHole, AdGuard Home, Nginx Proxy Manager, Gotify, Syncthing Relay Server, Authentik, Proxmox and many others.
- Customizable appearance
Installing the homepage
To install the homepage, you must have Docker and dockert-compose installed on the server.
Create the homepage directory and in it the docker-compose.yml file and the config directory
sudo mkdir homepage
cd homepage
In the docker-compose.yml file, enter the following text
version: "3.3"
services:
  homepage:
    image: ghcr.io/benphelps/homepage:latest
    container_name: homepage
    ports:
      - 3030:3000
    volumes:
      - ./config:/app/config
      - /var/run/docker.sock:/var/run/docker.sock:ro
  dockerproxy:
    image: ghcr.io/tecnativa/docker-socket-proxy:latest
    container_name: dockerproxy
    environment:
        - CONTAINERS=1 # Allow access to viewing containers
        - POST=0 # Disallow any POST operations (effectively read-only)
    ports:
        - 2375:2375
    volumes:
        - /var/run/docker.sock:/var/run/docker.sock:ro # Mounted as read-only
    restart: unless-stopped
In addition to the container for homepae will be deployed additional container that allows you to integrate into the panel widgets display the current containers, a little later we will add such a widget to the configuration.
In order to deploy containers, run the command
docker-compose up -dAfter successful installation, go to http://server-ip:3030 and visit the homepage.
In order to customize the appearance of the panel we will need to make changes to the configuration files, which are located in the directory config.
You can find more information about setting up the panel in the official homepage documentation.
Setting up the homepage

As an example, we will derive such information:
- Let’s add a logo and a weather widget
- Let’s add services that are installed in dockers and statistics on their use of resources
- Links to services
- Bookmarks for useful resources
To add the logo and weather widget, we need to edit the widgets.yaml file
- logo:
    icon: https://server-ip/logo.png

- resources:
    cpu: true
    memory: true
    disk: /

- search:
    provider: duckduckgo
    target: _blank

- openmeteo:
    label: Kyiv # optional
    latitude: 50.449684
    longitude: 30.525026
    timezone: Europe/Kiev # optional
    units: metric # or imperial
    cache: 5 # Time in minutes to cache API responses, to stay within limits
Kyiv # optional
latitude: 50.449684
longitude: 30.525026
timezone: Europe/Kiev # optional
units: metric # or imperial
cache: 5 # Time in minutes to cache API responses, to stay within limitsA list of all available widgets can be found in the official documentation under Information Widgets
Let’s add information about Gitea and Portainer and add other services that are used. To do this, edit the services.yaml file. Below I will show you my version of the services.yaml file. For each service you can choose any icon, the homepage includes a set of Dashboard icons, in the field with the definition of the icon just specify the name of the icon file. You can read more about how to properly fill out the services.yaml file on the official website.
- Docker:
    - Gitea:
        icon: gitea.png
        href: http://unixclient.host:3000/
        description: Git service
        server: my-docker
        container: gitea
    - Portainer:
        icon: portainer.png
        href: https://unixclient.host:9443/
        server: my-docker
        container: portainer
        widget:
          type: portainer
          url: https://unixclient.host:9443
          env: 2
          key: ptr_asdDds6nsdwqwqmW1EqwdqwdIA0232dss=
    - Dozzle:
        icon: dozzle.png
        href: http://unixclient.host:8080/
        server: my-docker
        container: dozzle
    - Jellyfin:
        icon: jellyfin.png
        href: http://unixclient.host:9090/
    - Grafana:
        icon: grafana.png
        href: http://unixclient.host:4000/
- Services:
    - Wireguard:
        icon: wireguard.png
        href": http://wireguard.com
    - AdGuard:
        icon: adguard-home.png
        href: http://adguard.com
    - Zabbix:
        icon: zabbix.png
        href: https://unixclient.host:7000/
    - Google:
        icon: google.png
        href: http://google.com/
        ping: http://google.com/
Let’s move on to adding bookmarks to useful resources. All bookmarks are stored in the bookmarks.yaml file. An example of my bookmarks.yaml file is shown below
- Developer:
    - Github:
        - icon: github.png
          href: https://github.com/
    - Stack Overflow:
        - abbr: SO
          href: https://stackoverflow.com/

- UnixHost:
    - UnixHost:
        - icon: tux.png
          href: https://unixhost.pro/
    - Blog:
        - icon: safari-ios.png
          href: https://blog.unixhost.pro
    - Telegram:
        - icon: telegram.png
          href: https://t.me/unixhost
    - Self-hosted Guide by UnixHost:
        - icon: youtube-light.png
          href: https://www.youtube.com/@selfhostedguide

- Entertainment:
    - YouTube:
        - icon: youtube-play.png
          href: https://youtube.com/
    - Netflix:
        - icon: netflix.png
          href: https://netflix.com
    - HBO:
        - abr: HBO
          href: https://www.hbomax.com/
This completes the homepage setup and gives you a convenient dashboard with quick access to all the resources you need.


